Vapor
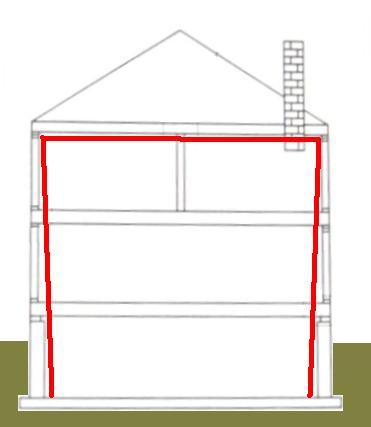
Rod suggested this, but vapor (red) the entire basement room like this seems strange to me.
Since the moisture from the main floor living room is just going to go through the floor, travel down the floor joists, and then hit that cold foundation wall.
Well, what he actually wrote was "My gut feeling is you should do the entire room."
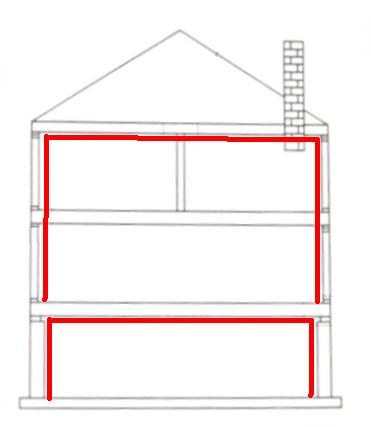
I think the vapor should be like this (I've shown the earth/dirt in this drawing):
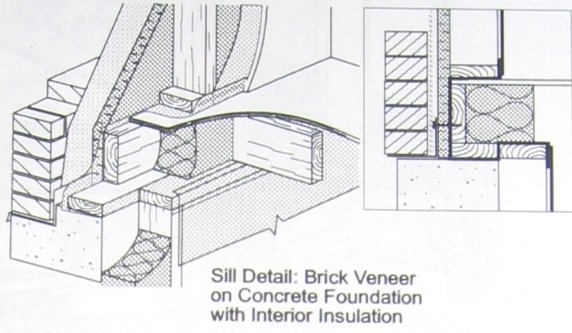
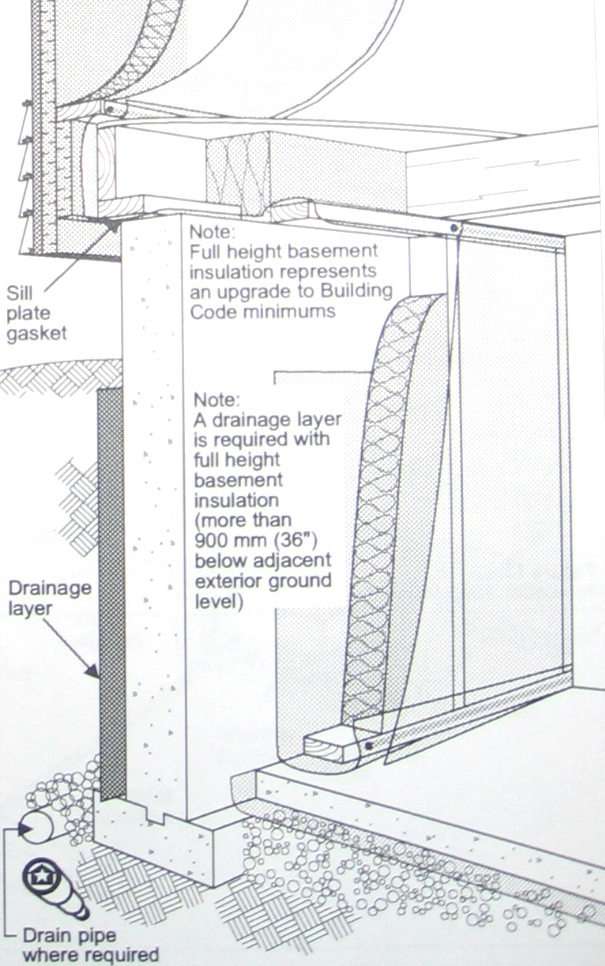
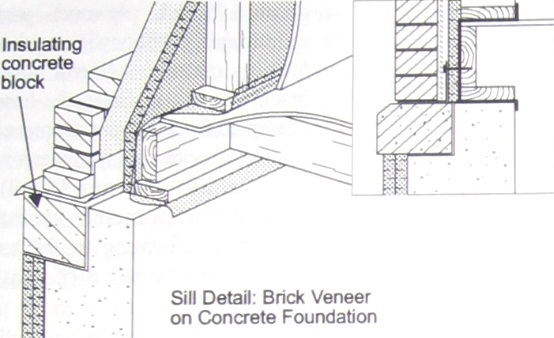
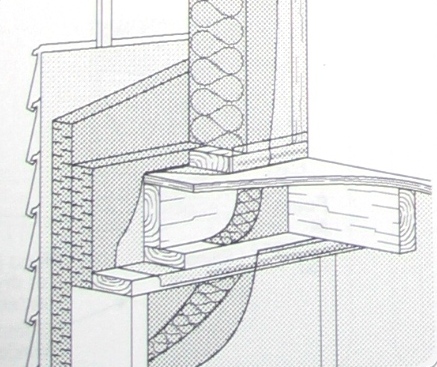
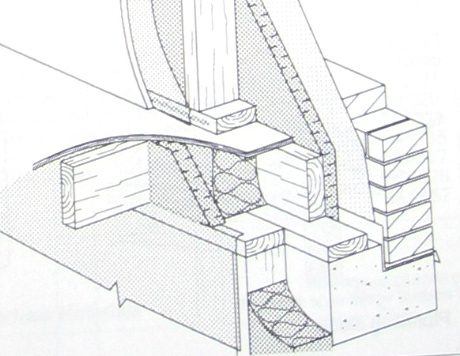
These are some pictures from the Ontario Building Code.
On the right hand side of the one immediately below is how I think the vapor is put in place in my house.
Here's where the room goes in my basement.
Here's a closer look, along with my framing and vapor plan.
These are first the framing, and then the same framing but covered with blue vapor.
If anyone has some ideas how to maintain a vapor barior around a steel i-beam I'd like to know.
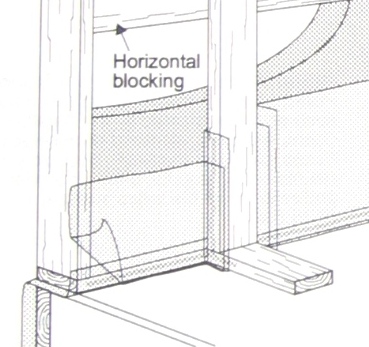
The support idea is to have a 2x2 running along the existing footer plate above the concrete.
Under that is a 2 x 10 forming the top plate of the wall. This means that what I'm making there resembles a staggard stud wall, with a bit of flanking.
That 2x2 to 2x10 should be solid enough without having blocking up at the joists.
And the 2x10 should suffice for a fireblock at the top of the wall.
The remaining walls are screwed to the 2x10 wall after the vapor barior is installed.
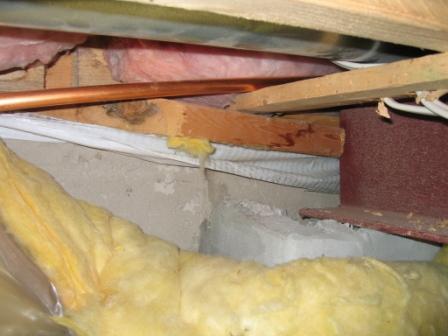
Some pictures of the area. The white is the existing vapor barior shown in the Ontario Building Code above.
This is the neighbour corner. You can click on these pictures to zoom in.
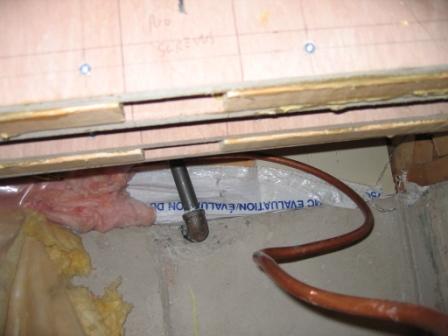
This is near the steel i-beam
Same shot, taken a little higher and closer to the wall.
The 6"x6" steel i-beam doesn't go all the way to the outside wall. There's a 2" gap back there.

Here's the plan for the 'i-beam collar'.
Basically I cut out some wood so it looks like this.
And wrap each piece of wood in 6mil poly
And put them in place around the i-beam, with acoustic caulk against the i-beam
Screwed from the sides and bottom.
Here it is all together from the front.
and from the side. Notice how it's flush with the front of the new wall.
and from the top.
I cut a piece of 6mil poly into this shape.

and place it over the i-beam and 'collar'. The top is fastened under the spaning 2x2, with a 2x2 under it level with the 2x10 top plate. The sides are taped to the top of the 2x10, and it's taped to the top the collar.

Then it's draped down the front, taping it to the front of the collar, and to the framing of the wall.
Then the rest of the wall can be vapor barriered normally.
That's what I want to do I think. The outstanding question is how to assemble it!


